- Cursive Alphabets
- Cursive Q
Cursive Q Tutorial and Worksheet (Uppercase + Lowercase)
On this page, you will learn how to write cursive Q (Lowercase + Uppercase). Download our free printable cursive Q tracing worksheets to improve your handwriting.
Download Cursive Q Worksheet
Ready to begin writing cursive Q? First, download the free printable cursive Q worksheet to trace and practice each stroke correctly. These cursive worksheets are designed to improve cursive writing, flow, and consistency.
How to Write Q in Cursive
The cursive Q is one of the most elegant letters of the cursive alphabet. The uppercase cursive Q looks decorative and artistic, almost like a fancy number “2.” The lowercase cursive q has a smooth, rounded loop that flows easily into the next letter, making it ideal for cursive word formation and calligraphy-style writing.
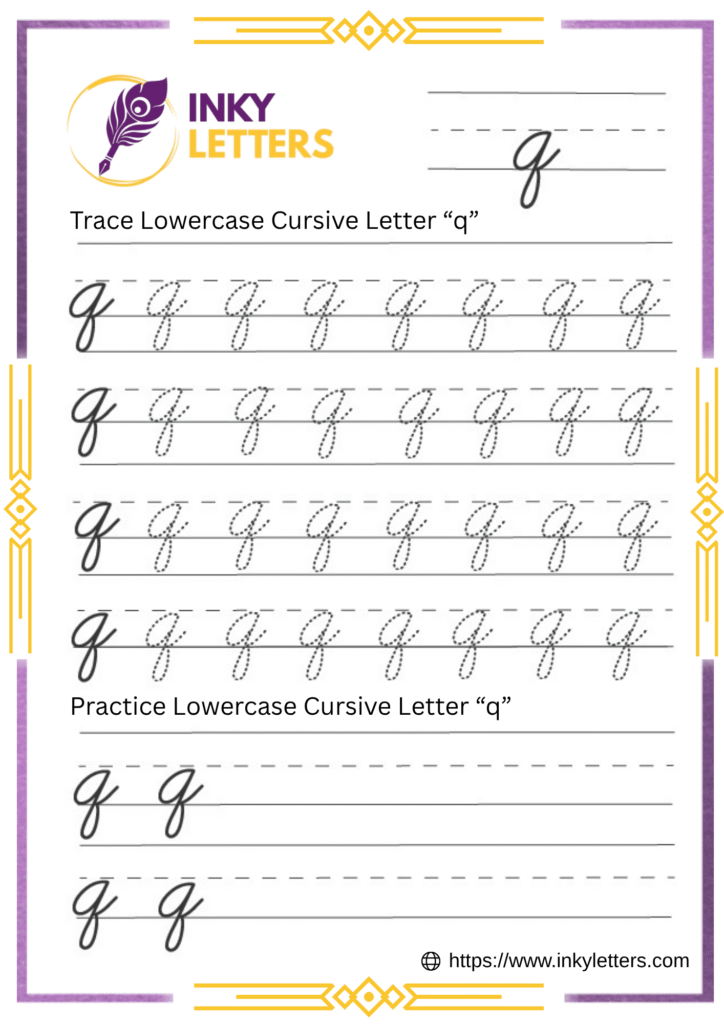
Lowercase Cursive q
The lowercase cursive q looks a lot like a cursive g, but it ends with a tail that points to the right. Start just below the midline and make a smooth, round oval like a cursive a or o. Close the loop, then bring the line straight down below the baseline. Curve it to the right and add a small upward tail. Keep the oval neat and the tail light. It connects easily to letters like u and e.
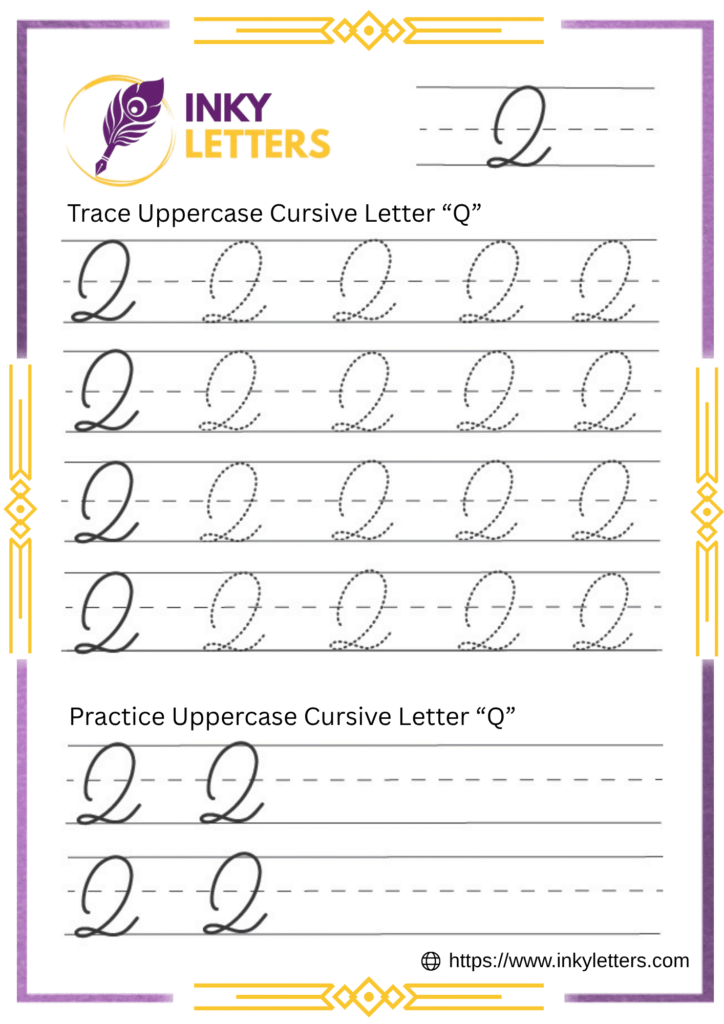
Uppercase Cursive Q
The uppercase cursive Q looks different from the printed Q. It has a smooth, flowing shape. Start with a large loop at the top line, curving gently to the left. Bring the line down in a big oval to the baseline. Curve it right and slightly up, then add a small loop or tail across the lower part. Keep the oval balanced for a clean, stylish capital Q.
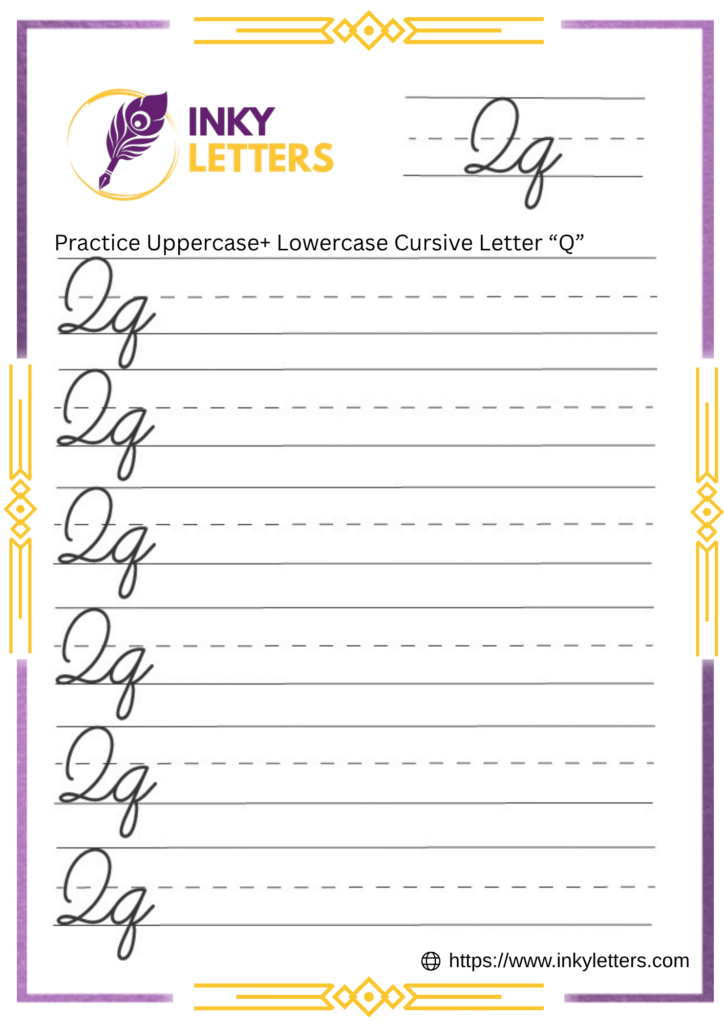
How to Connect Cursive Q to Other Letters
Once you’ve learned how to form the cursive Q, the next step is understanding how it connects smoothly to other letters. Connection is what makes cursive writing flow naturally.
How to Connect Lowercase Cursive q
The lowercase q ends with a soft upward curve that easily links to the next letter. The joining tail makes transitions effortless once you know the stroke direction.
How it connects:
- q + a / o / e: Roll the upward curve directly into the next rounded letter.
- q + l / h / b: Lift slightly, then rise tall into the next line.
- q + i / u / n: Keep your hand relaxed and dip gently before moving forward.
Download practice worksheets:
- Joining Letters: qa, qe, qi, qu, qt
- Cursive Words: quick, queen, quilt, quote, quiet
How to Connect Uppercase Cursive Q
The uppercase cursive Q often stands alone, especially at the beginning of names but it can connect gracefully to other letters too.
How it connects:
- Q + u: This is the most common pair! Start the u close to the Q’s bottom curve.
- Q + a / i: Begin the next letter at the rightmost edge of the Q’s lower loop.
- Q + e / l: Add a small linking line if you want to connect smoothly.
Download practice worksheets:
- Joining Letters: Qa, Qu, Qi, Qe
- Cursive Words: Queen, Quest, Quick, Quilt
Here’s What Most People Ask Us
Start with a small oval, then pull the stroke down below the baseline and curve it slightly to the right. End with a small tail that connects to the next letter.
It’s common! To fix it, make sure your q’s ending tail points to the right, not curls back up like g. Keep the loop tighter and tail shorter.
At first, yes, it looks different from print Q., but after a few rows of tracing, you’ll find its rhythm. Think of it as drawing a fancy number 2 with extra style!