- Cursive Alphabets
- Cursive M
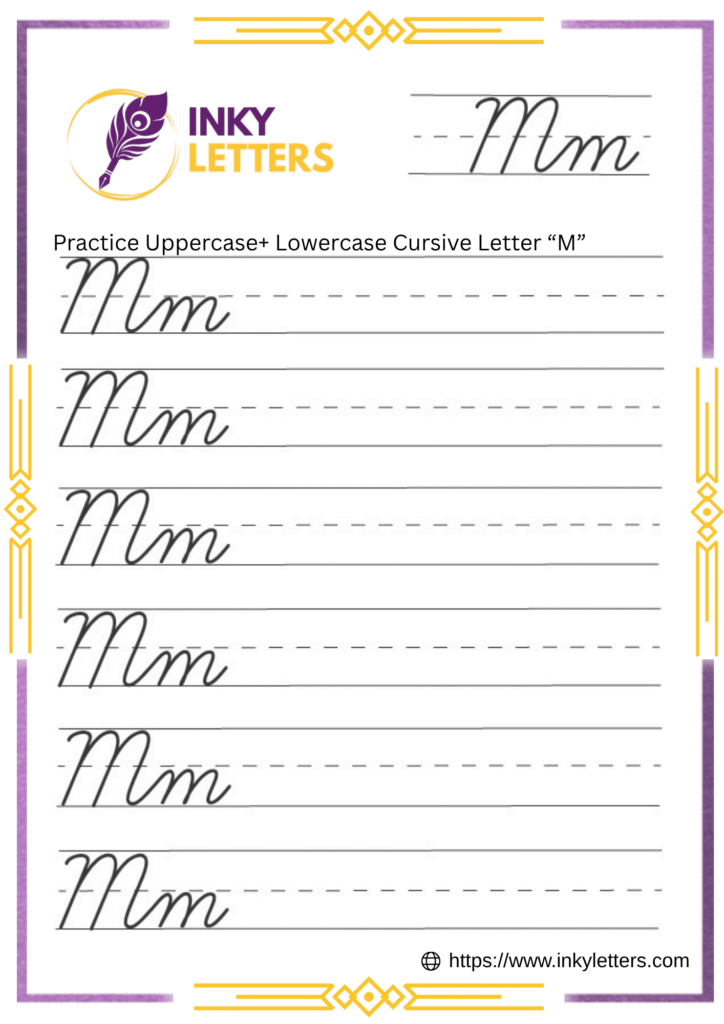
Cursive M Tutorial and Worksheet (Uppercase + Lowercase)
On this page, you will learn how to write uppercase cursive M and lowercase cursive m step by step. You’ll also get free printable and downloadable cursive M worksheets for tracing and practice.
Download Cursive M Worksheet
Ready to start your cursive writing practice? Download the free cursive M worksheet below and begin tracing today! These printable cursive worksheets are designed for kids, students, and beginners who want to build strong handwriting skills through repetition and rhythm.

How to Write M in Cursive
The cursive letter M stands out for its graceful flow and rhythmic consistency. Both the lowercase and uppercase forms feature smooth, rounded humps and elegant connecting curves, making them satisfying to write. Let’s explore how to form each one, step-by-step.
Lowercase Cursive m
To write the lowercase cursive m, start at the baseline and make a gentle upstroke to the midline. Bring your stroke down and immediately curve up to form the first rounded hump. Repeat this motion twice more, creating a total of three even and balanced humps. Finish with a soft, rightward tail for connecting to the next letter. Remember to keep your movements fluid and avoid sharp points.
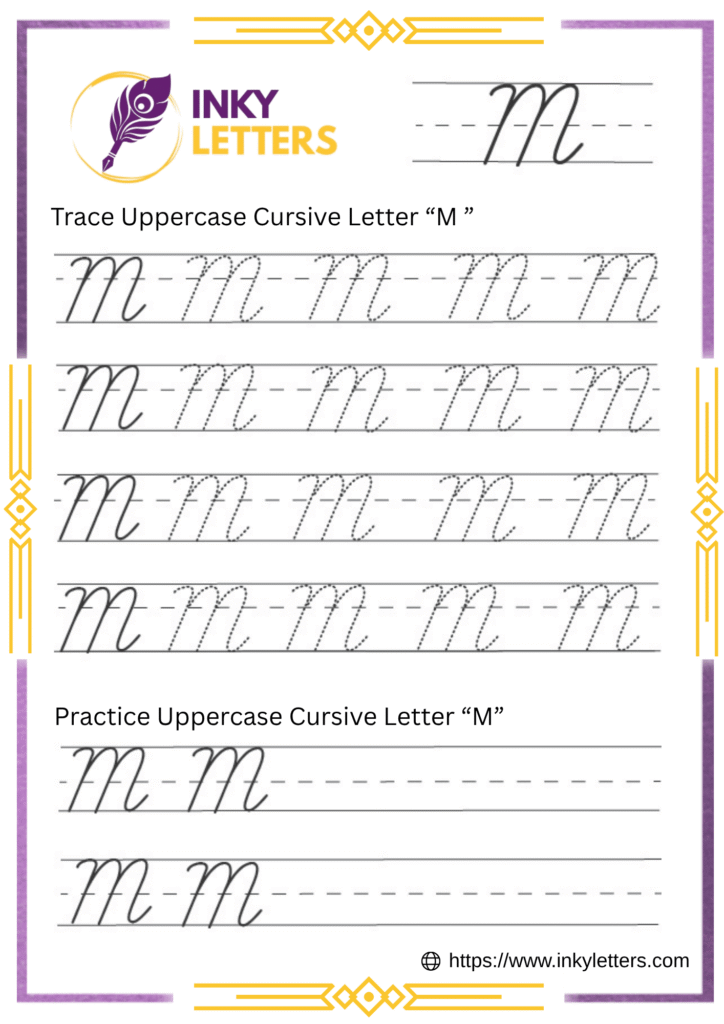
Uppercase Cursive M
Start with a tall upward stroke to the top line, then curve straight down to the baseline. Without lifting your pen, create the first rounded hump by looping up to the middle line and back down. Repeat this for the second hump. Finish with a small curve to the right, ensuring the humps are even and balanced for a graceful look.
How to Connect Cursive M to Other Letters
Cursive M connects beautifully with many letters, especially vowels. The key is to keep the ending tail of m smooth so it blends into the next character naturally.
How to Connect Lowercase Cursive m
The lowercase cursive m ends with a small upward curve, making it easy to connect to the next letter.
Examples of connections:
- m + a / o / e: Flow from the tail directly into the round letter.
- m + i / u / n: Keep the spacing tight for a neat join.
- m + l / h / k: Stretch slightly higher to join tall letters.
Practice worksheets:
- Joining letters: ma, me, mi, mo, mu, mh
- Cursive words: map, moon, milk, mouse, music
How to Connect Uppercase Cursive M
The capital cursive M often stands alone in names or headings, but can still connect gracefully to smaller letters for flowing cursive writing.
Connection examples:
- M + a / e / o: Start the next letter from the lower curve.
- M + l / n / t: Extend a small linking stroke for a continuous flow.
Practice worksheets:
- Joining letters: Ma, Me, Mo, Ml, Mt
- Cursive words: Mary, Mason, Melody, March, Mist
Here’s What Most People Ask Us
The lowercase cursive ‘m’ has three humps (or arches). It’s crucial to keep all three humps uniform in height and spacing for a neat appearance.
No, you should not lift your pen when writing the lowercase ‘m’. It is written in one continuous stroke, starting at the baseline and finishing with the connecting tail.
The uppercase cursive ‘M’ is typically written in two strokes (you lift your pen after the first tall stroke). It starts tall at the top line and is much larger, often featuring a decorative loop at the beginning and only two humps in its main body, unlike the three humps of the lowercase ‘m’.
The humps of the lowercase ‘m’ should reach the midline (or the waistline) of your paper, which is the same height as letters like ‘a’, ‘c’, and ‘e’. They should not go all the way up to the top line.
Because the ‘m’ finishes with a tail that curves upward from the baseline, it connects easily to almost all letters, especially rounded letters like ‘a’, ‘o’, and ‘c’.