- Cursive Alphabets
- Cursive G
Cursive G Tutorial and Worksheet (Uppercase + Lowercase)
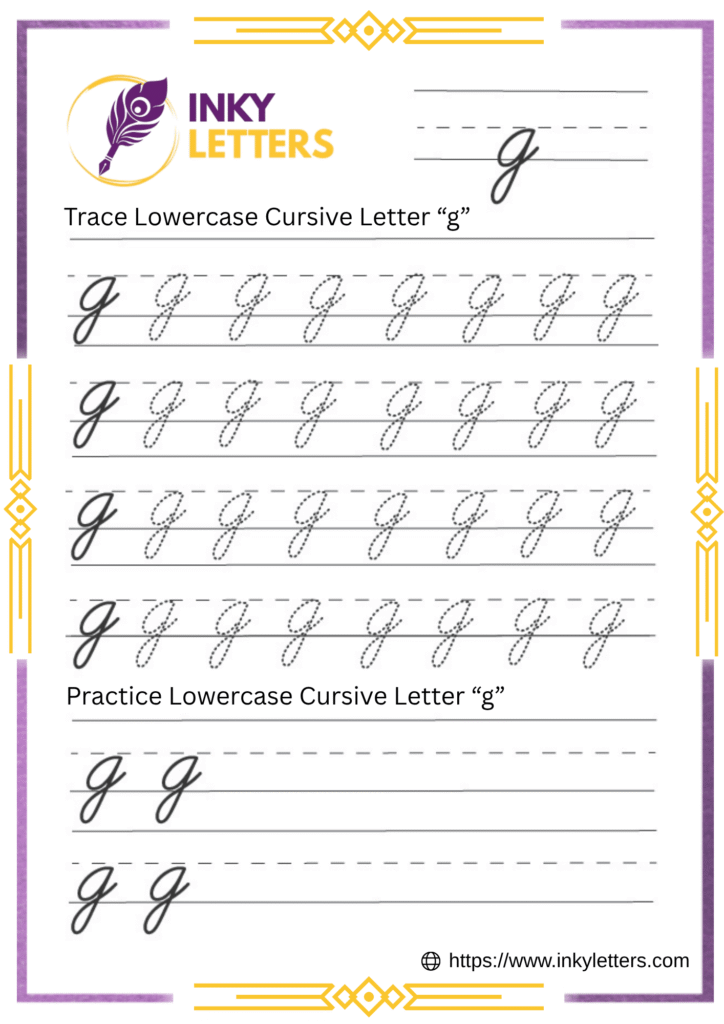
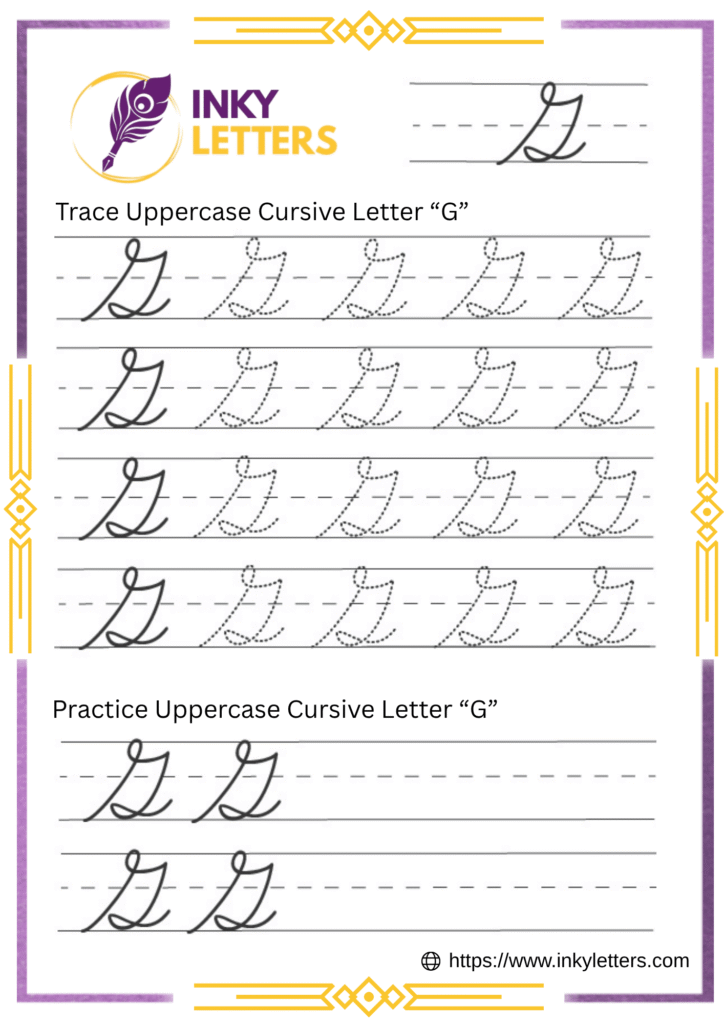
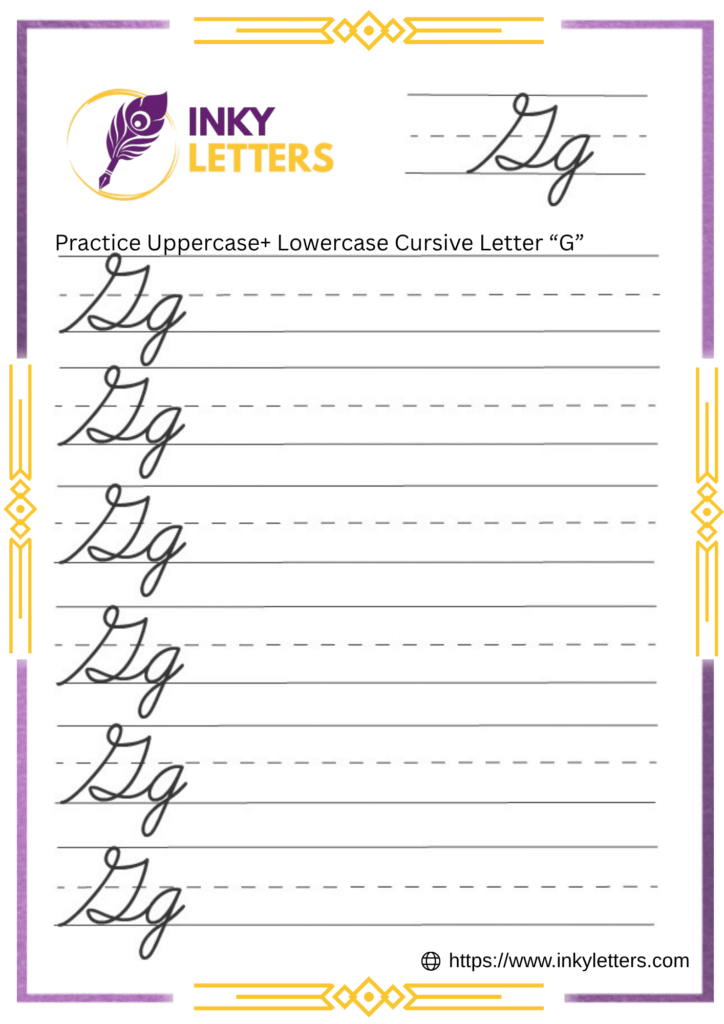
On this page, you will learn how to write cursive G in cursive (uppercase + lowercase). You’ll also get free printable and downloadable cursive G worksheets and cursive G tracing pages for practice. These worksheets make it easier to learn each stroke of the letter correctly and improve your cursive writing skills.
How to Write G in Cursive
The cursive G looks stylish and flowing, a graceful mix of curves and loops. The uppercase G is bold and fancy, while the lowercase g is smooth and round with a gentle tail. Once you know the strokes, this letter becomes one of the most elegant to write. Let’s learn how to write both big G and small g only!
Lowercase Cursive g
Start from the middle line and draw a small circle, just like a cursive a. Then bring the stroke down below the baseline and form a small loop on the left side.
End with a short curve going upward so it can connect easily to the next letter. This letter should look light and even. Keep the loop open and the circle neat for a clean look.
Regular cursive g practice helps build smooth hand control and balance.
Uppercase Cursive G
Start at the top line and make a large curved loop like a cursive C. Bring the line around to form a wide circle, then curve inward near the middle to create a soft tail. Add a small finishing stroke toward the right side to complete the G.
The uppercase cursive G may look fancy at first, but with slow tracing, it becomes simple. Keep the top and bottom curves balanced for a beautiful shape.
Using cursive G tracing pages makes this step much easier for beginners.
How to Connect Cursive G to Other Letters
Once you start writing the cursive g, the next step is learning how to join it with other letters. A smooth connection makes your writing neat and easy to read.
How to Connect Lowercase Cursive g
The lowercase cursive g ends with a small upward curve that flows into the next letter. This tail helps you move from one letter to another without lifting your pencil.
How it connects:
- g + a / o / e: Let the tail slide into the round curve of the next letter.
- g + l / h / b: Bring the tail up gently before starting the tall stroke.
- g + i / u / r: Keep the line smooth and lift slightly into the next shape.
Download practice worksheets:
- Joining Letters: ga, go, ge, gl, gh, gi, gu.
- Cursive Words: gap, got, gum, glad, gift.
How to Connect Uppercase Cursive G
Most of the time, the uppercase cursive G stands alone, especially in names. But you can connect it if you want to.
Ways to join uppercase cursive G:
- G + a / o: Start the next letter near the ending curve of G.
- G + l / t: Add a short line from the middle to link with the tall letter.
- G + e / y: Flow from the bottom curve into the loop of the next letter.
Download practice worksheets:
- Joining Letters: Ga, Go, Gl, Ge, Gy.
- Cursive Words: Game, Goal, Grace, Glory, Gem.
Here’s What Most People Ask Us
Start with a closed loop like the letter a. Then bring the line down past the baseline and make a tail that loops to the left and comes back up. The tail should be small and smooth.
Make the top curve wide and smooth, form a soft inner loop, and lift your pencil slightly after the loop for a clean finish.
Your loops look uneven when you press too hard, write too fast, or change the slant. Relax your hand, keep your pressure light, and move slowly. Practice smooth ovals to make your loops even.
Left-handed writers can easily write a cursive G well. They typically tilt their paper slightly and keep their wrist below the writing line to avoid smudging the ink.
Good starter combinations are ga, go, gu, gl, and gr. You can practice simple words like gas, gum, glad, gate, and grow.
Download free printable cursive G worksheets from the top of the page. Also, Inkyletters provides cursive alphabet A to Z worksheets for free.


