- Cursive Alphabets
- Cursive S
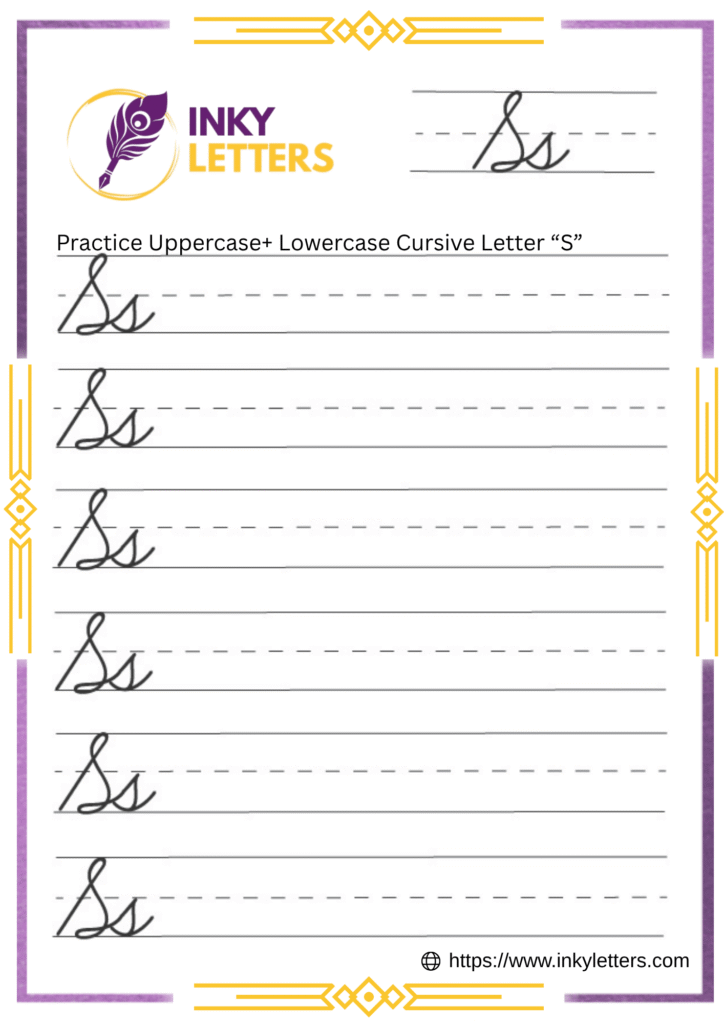
Cursive S Tutorial and Worksheet (Uppercase + Lowercase)
On this page, learn how to write uppercase cursive S and lowercase cursive s step by step. Our free cursive S printable worksheet helps trace and master cursive letters for better handwriting improvement.
Download Cursive S Worksheet
Start by downloading the cursive S worksheet before practice. These cursive worksheets includes both big and small S letters, helping you trace, form, and connect them easily. Each line gives space to practice neat strokes and perfect the loops. Once you get the rhythm, the letter becomes natural to write.
How to Write S in Cursive
The cursive letter S has a smooth, flowing style. The uppercase S looks bold and elegant, while the lowercase s is light and simple. Their shapes curve in opposite directions, yet maintain the same balance. With a few guided steps, both become easy to write. Let’s learn how to form them now.
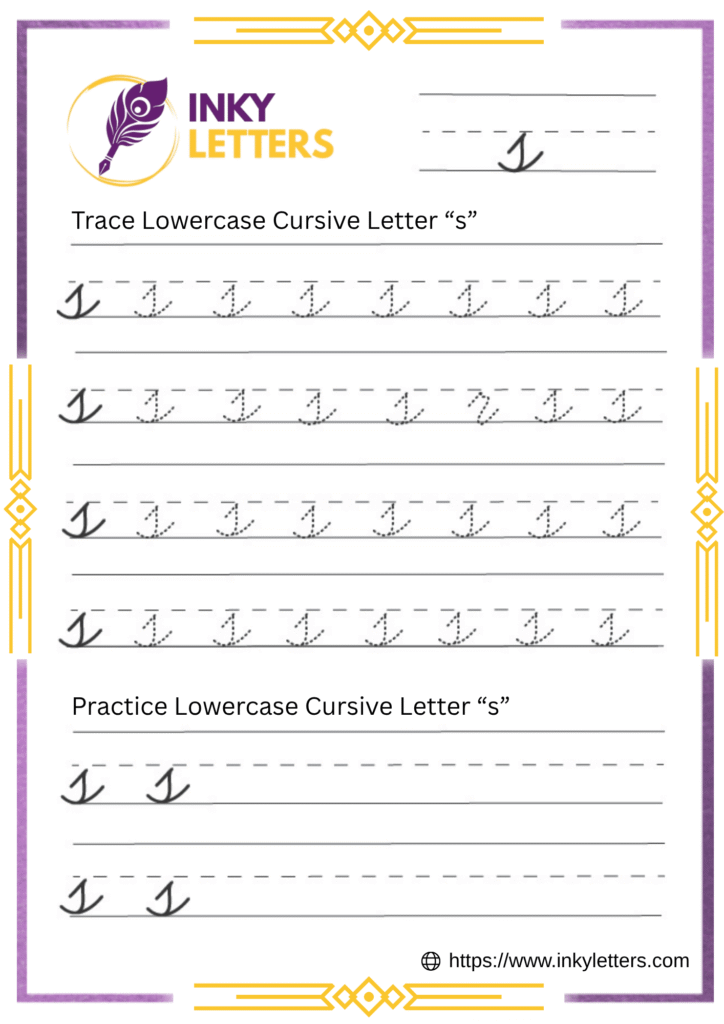
Lowercase Cursive S
To write a lowercase cursive s, begin at the midline and move the pencil slightly upward before curving left into a soft, narrow loop. Bring the stroke down toward the baseline, then curve gently to the right to create a smooth exit stroke for connecting to the next letter. The shape is small, neat, and flowing, resembling a softer version of the printed “s.” Keeping the inner curve tight helps the letter stay balanced and easy to read.
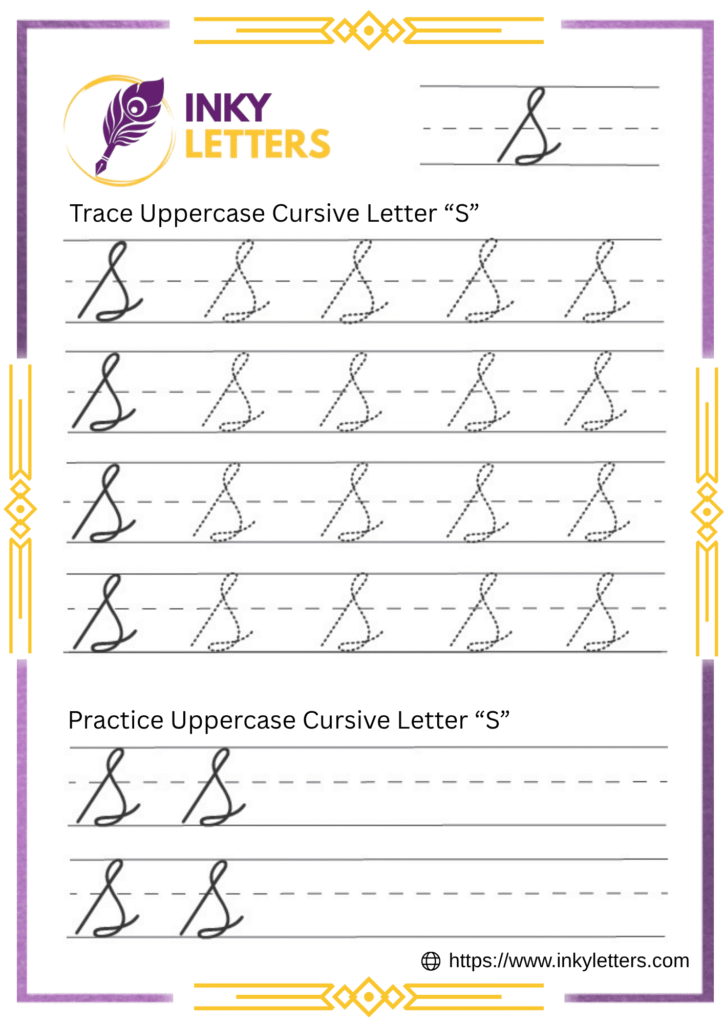
Uppercase Cursive S
To write an uppercase cursive S, start at the bottom line and create a curved, diagonal stroke that rises to the top line. From there, loop the stroke left and down, forming a large top loop before curving back toward the middle. Continue the line downward, crossing over the first stroke, and shape a smaller loop at the bottom. Finish with a short hook to the right. This classic formation gives the letter its smooth, flowing style.
How to Connect Cursive S to Other Letters
The cursive S connects beautifully with other letters when the exit stroke is guided correctly. The lowercase cursive s joins to the right, while the uppercase cursive S often stands alone. Let’s explore both cursive S connections in detail.
How to Connect Lowercase Cursive "s"
The lowercase cursive s ends with a tiny right curve that allows the next letter to flow naturally without lifting the pencil.
How it connects:
- s + a / o / c: Let the tail roll into the next round shape.
- s + l / h / b: Move the tail slightly upward to meet the tall stroke.
- s + e / i / u: Keep the curve gentle so it dips neatly into the next letter.
Download practice worksheets:
- Joining Letters: sa, se, si, so, su, sl, sb.
- Cursive Words: sun, soft, sail, seal, soup, smile.
How to Connect Uppercase Cursive S
The uppercase cursive S usually stands alone, especially at the start of names or words, but it can connect for a smoother writing style.
Ways to join uppercase cursive S:
- S + a / o: Keep the lower curve close to the start of the next letter.
- S + l / t: Add a short line from the end of S to link into the tall line.
- S + e / y: Flow gently from the lower part of S into the loop.
Download practice worksheets:
- Joining Letters: Sa, So, Sl, St, Se, Sy.
- Cursive Words: Sand, Song, Sleep, Style, Sweet, Shine.
Here’s What Most People Ask Us
Start with cursive alphabet worksheets. Follow each stroke one at a time instead of writing the whole letter. Daily practice improves cursive handwriting.
Start with the lowercase cursive s since it’s more common in words. Once you’re comfortable, move on to uppercase cursive S for names and titles.
Try short words like sun, sea, sit, soap, and soft. Also, try longer ones like simple, silver, and sister to build fluid control in cursive handwriting.