- Cursive Alphabets
- Cursive N
Cursive N Tutorial and Worksheet (Uppercase + Lowercase)
On this page, you will learn how to write uppercase cursive N and lowercase cursive n step by step. You’ll also get free printable and downloadable cursive n worksheets for tracing and practice.
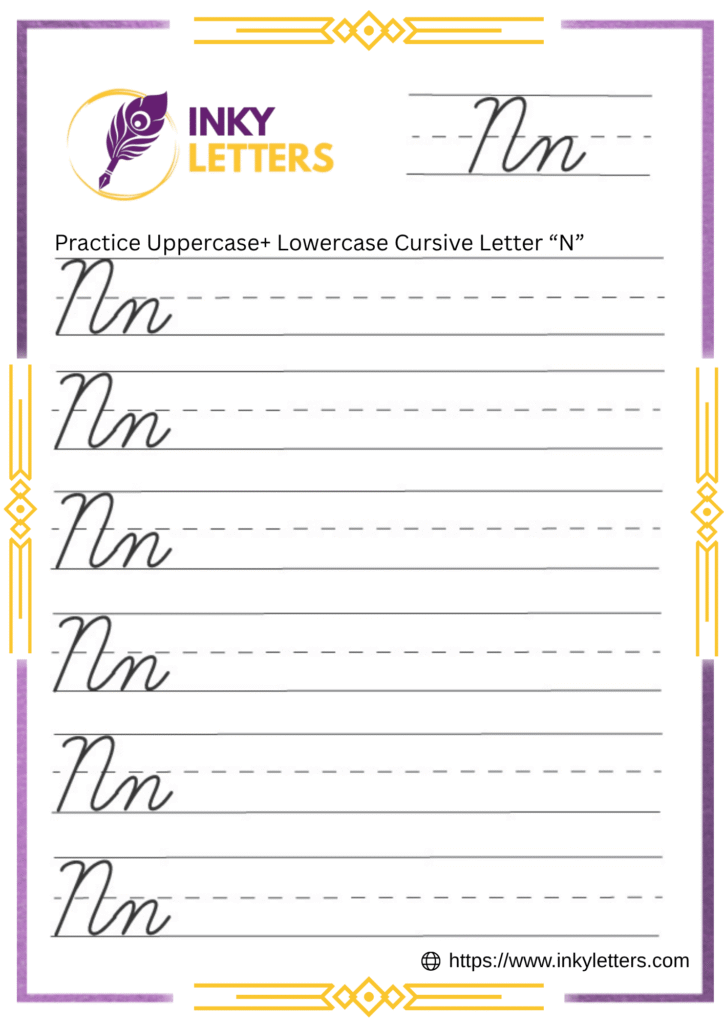
Download Cursive N Worksheet
Download the cursive N worksheet below and follow the step-by-step guide. These printable tracing pages are perfect for beginners, students, or kids learning the cursive alphabet.
How to Write N in Cursive
The cursive letter N is known for its neat and flowing shape. With rounded humps and soft curves, it looks elegant and simple. The uppercase N stands tall and graceful, while the lowercase n has a single, smooth arch. Once you get into its rhythm, writing cursive N becomes quick and natural.
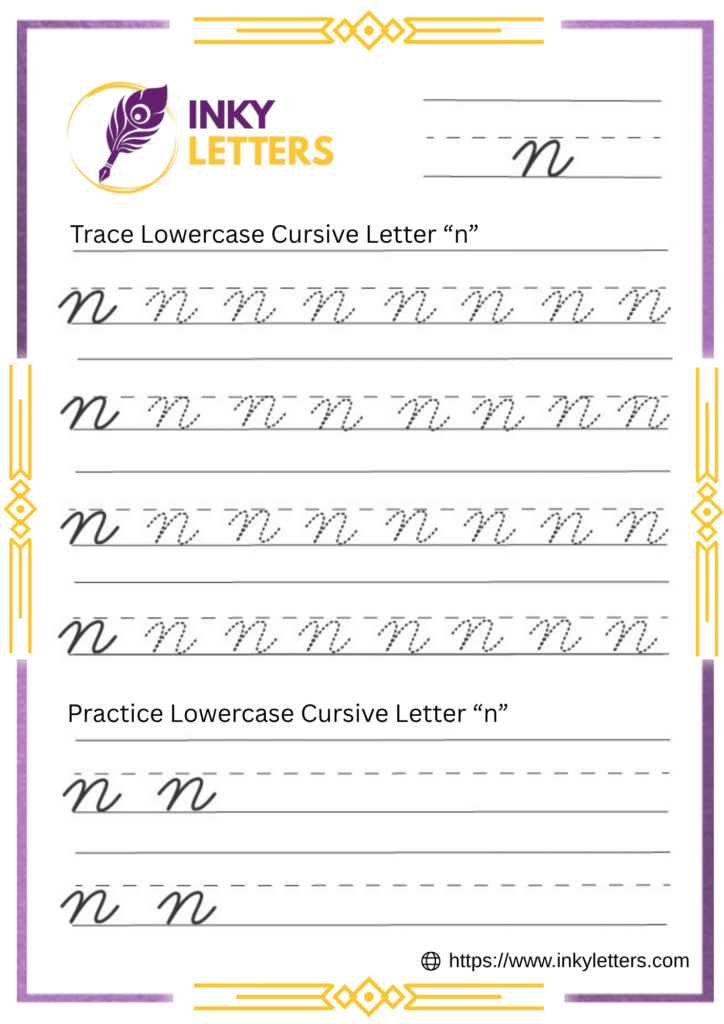
Lowercase Cursive n
To write the lowercase cursive n, start at the baseline and move up to the midline. Curve slightly right, then bring the stroke smoothly down to the baseline. Immediately curve up again to form its single, rounded hump. Finish with a rightward tail for linking to the next letter. Remember, the ‘n’ has one hump, unlike the ‘m’ (which has three), and you should keep your strokes light and even.
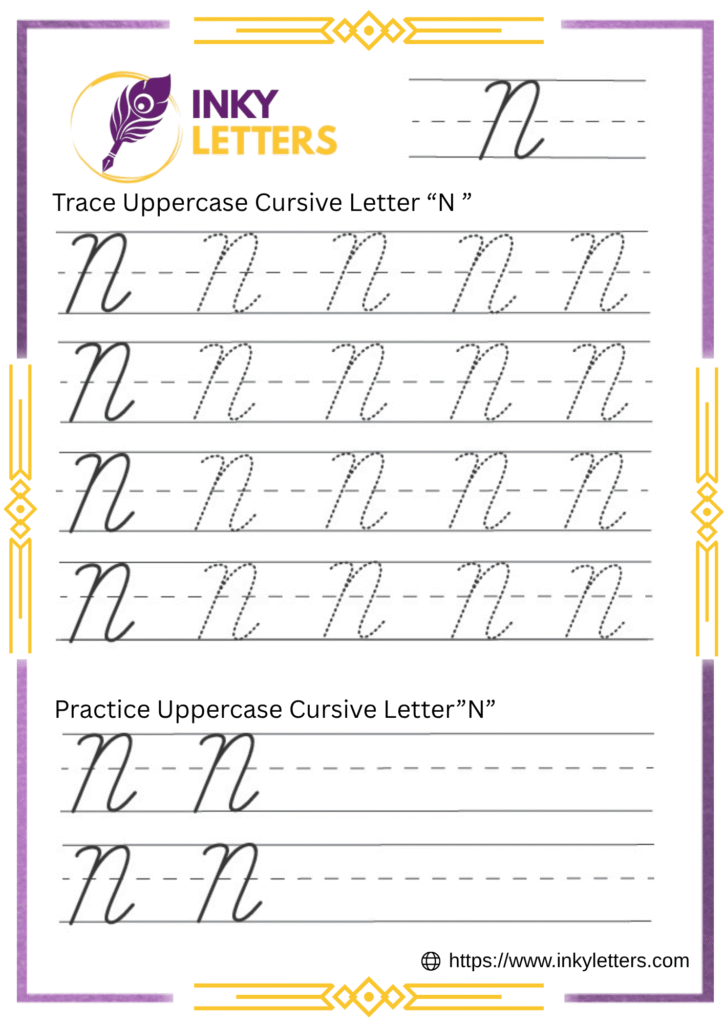
Uppercase Cursive N
To write the uppercase cursive N, begin at the top line with a small curve to the left, then bring the stroke straight down to the baseline.
Next, starting slightly higher on the left, draw a wide curve that loops over the top and swings down to the right. Finish with a soft exit tail. It keeps the top curve open and balanced for a confident, elegant look.
How to Connect Cursive N to Other Letters
After learning to write N in cursive, the next step is mastering how to connect it to other cursive letters. Proper connections make your cursive handwriting look neat, fluent, and consistent.
How to Connect Lowercase Cursive n
The lowercase n ends with a small upward curve that points to the right. This curve helps you join easily to the next letter without lifting your pencil.
How it connects:
- n + a / o / c: Let the curve roll into the round shape.
- n + l / r / h: Lift the curve slightly and move into the tall line.
- n + e / i / u: Keep the stroke soft and dip gently into the next letter.
Download practice worksheets:
- Joining Letters: na, no, ne, ni, nu, nl, nr
- Cursive Words: nap, net, noon, nail, nut, near
How to Connect Uppercase Cursive N
The capital cursive N is often used as a standalone letter, especially in names and titles. However, it can also connect smoothly to smaller letters when writing continuous words in cursive.
Ways to join uppercase cursive N:
- N + a / o: Start the next letter close to the bottom curve.
- N + l / e / i: Add a small line from the lower end of N into the next stroke.
- N + u / y: Flow gently from the ending curve to the next loop.
Download practice worksheets:
- Joining Letters: Na, No, Ne, Ni, Nu, Ny
- Cursive Words: Name, Note, Nice, Nine, Noble, Nation
Here’s What Most People Ask Us
Start at the baseline, move up to the midline, curve slightly, and come back down. Then make one smooth hump and finish with a small rightward tail for joining.
Not usually. It often stands alone in names. You can connect it softly to vowels if you want, but most writers lift their pencil after finishing N.
Try simple ones like net, nap, noon, nine, and note. These are great for mastering both the uppercase and lowercase cursive N formation.
Use cursive N tracing worksheets daily. Practice slowly with light pressure. Focus on even humps and consistent spacing. This builds muscle memory and makes your handwriting more polished.