- Cursive Alphabets
- Cursive B
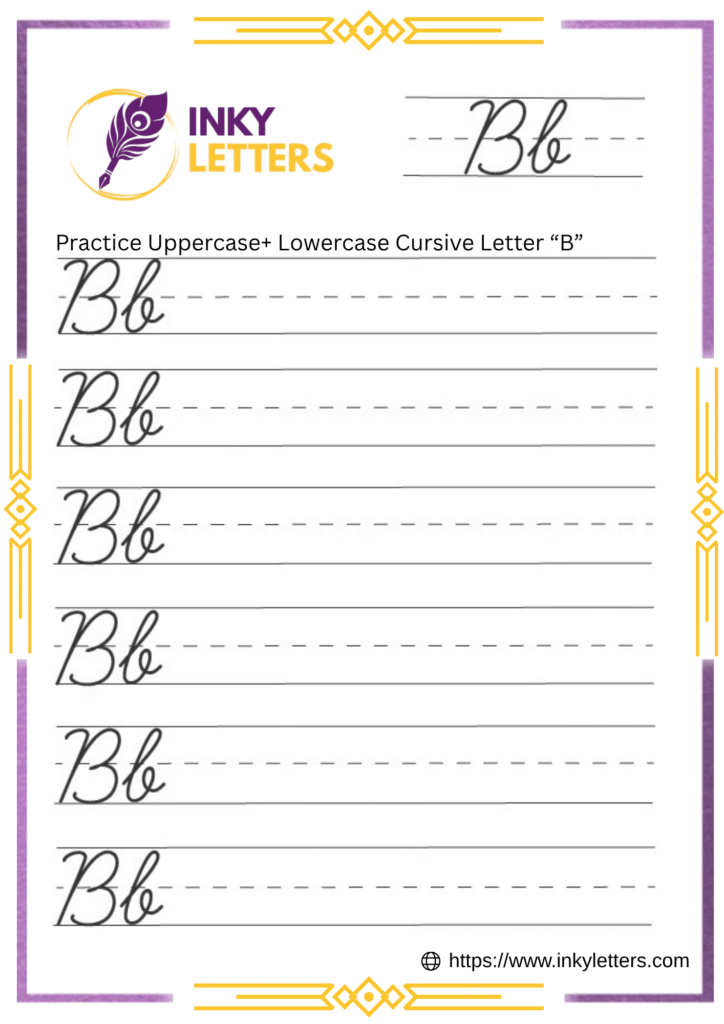
Cursive B Tutorial and Worksheet (Uppercase + Lowercase)
On this page, you will learn how to write cursive B (Lowercase + Uppercase). Download our free printable cursive B tracing worksheets to improve your handwriting.
Download Cursive B Worksheet
Ready to start writing cursive B? First, download the cursive B worksheet and follow this complete tutorial to master both uppercase and lowercase cursive letters.
How to Write B in Cursive
Cursive B has two forms. The uppercase B looks tall and round. The lowercase b looks simple & elegant. Each form needs clear strokes and gentle curves. Let’s examine both steps in detail.
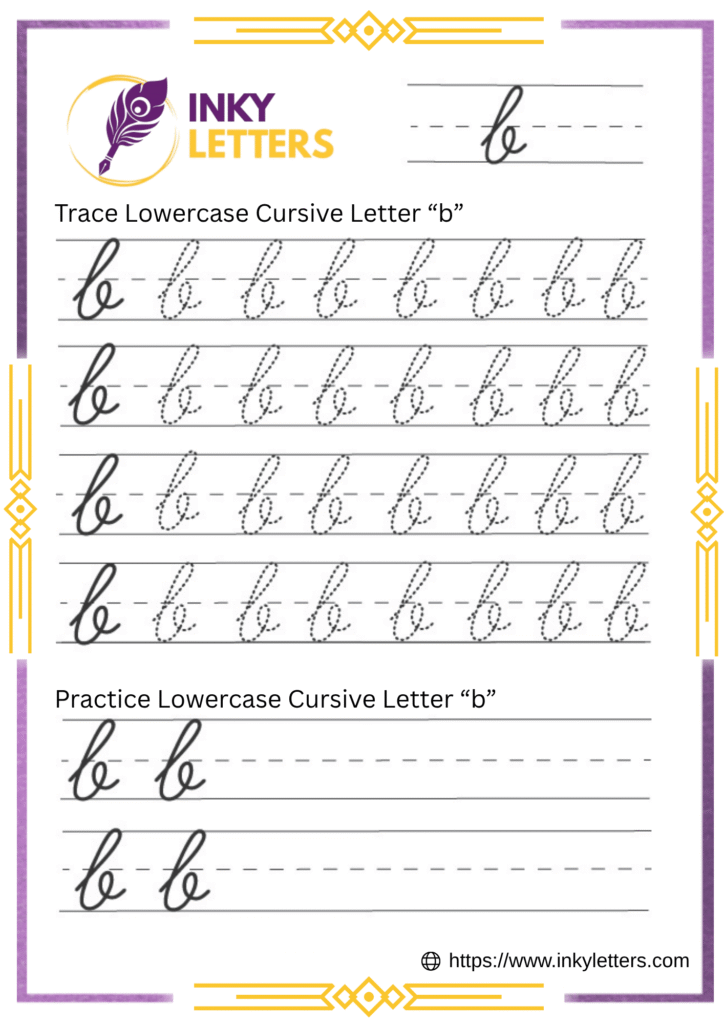
Lowercase Cursive b
Start at the baseline and move your pencil straight up to the top line. Make a small loop, then bring the stroke back down to the baseline. Curve it slightly to the right so it connects with the next letter.
Write the lowercase cursive b tall and neat. Give it a long stem and a soft loop on the right side. Keep your hand relaxed and use light pressure for smooth lines.
See the cursive b as a tall stick with one gentle loop. Trace it a few times to build confidence. Use the cursive handwriting worksheet to practice and shape the curve perfectly.
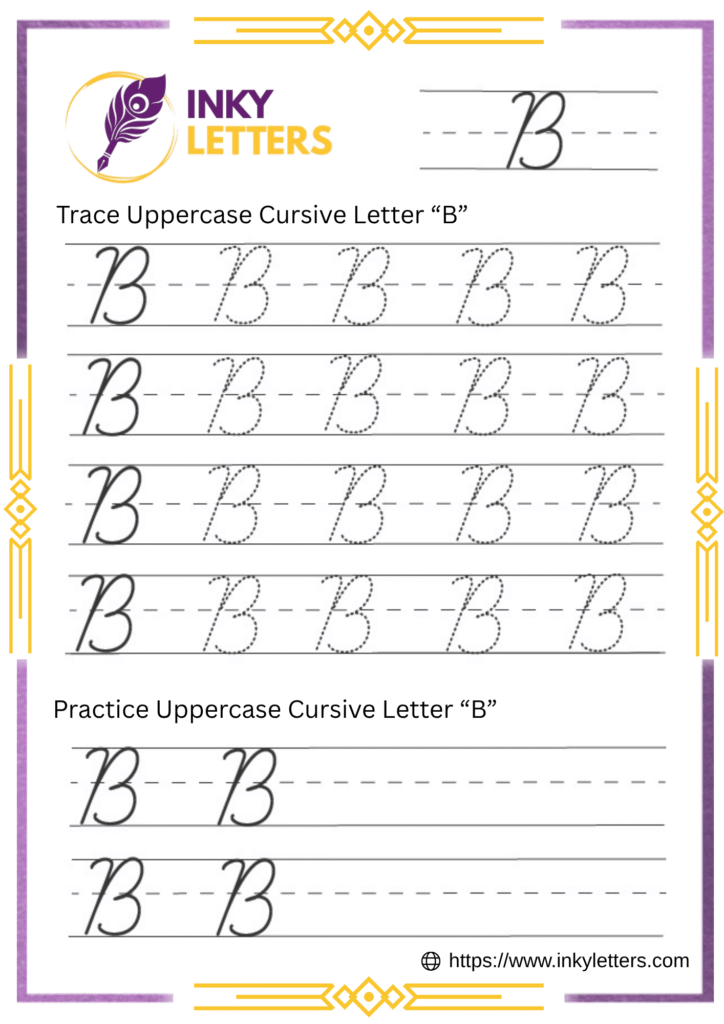
Uppercase Cursive B
Uppercase cursive B begins near the top line. Draw a small curve upward, then pull your pencil straight down to the baseline. Move back up halfway and create the top loop. Curve out again to form the lower loop. End the letter with a short curve to the right.
Keep both loops even and smooth. The top loop should stay slightly smaller than the bottom one. Hold your hand steady to keep the back line straight. Avoid sharp turns. Soft, rounded curves give your letter a graceful look. Practice slowly until each stroke feels natural and balanced.
How to Connect Cursive B to Other Letters
Once you know how to write B, the next step is joining it with other letters. A clean connection gives your words flow and rhythm.
How to Connect Lowercase Cursive b
The lowercase b ends with a small curve that moves to the right. That curve helps you slide into the next letter without lifting your pencil.
Here’s how it connects:
- b + a / o / e: Let the final curve roll into the round part of the next letter.
- b + l / r / u: Lift your hand slightly, then move into the tall line.
- b + i / t / n: Keep the motion smooth as you move across the baseline.
Download practice worksheets:
- Joining Letters: ba, bo, be, bl, br.
- Cursive Words: ball, bee, bag, blue, bright.
Each word gives your hand a different angle to work with. Keep your strokes light and stay relaxed.
How to Connect Uppercase Cursive B
Uppercase B often stands alone in writing. You use it at the start of names, titles, or places. But you can connect it when needed.
Try these:
- B + a / e / i: Start the next letter close to the lower curve.
- B + l / r / y: Add a soft hook from the end of the letter.
Download practice worksheets:
- Joining Letters: Ba, Be, Bi, Bl, Br.
- Cursive Words: Bella, Ben, Bill, Bloom, Brave.
Writing connected uppercase B makes your script look smooth and confident.
Here’s What Most People Ask Us
Begin by tracing simple shapes and curves. Use cursive worksheets to guide each stroke. Show each step separately. Let learners copy one line at a time before moving to full letters.
Begin with lowercase b. It appears more often in words and sentences. You will use it in daily writing, so mastering it first makes learning easier.
Practice for three days. Write one page each day. You will see steady improvement. Keep repeating the steps until your strokes look smooth and balanced.
Yes. Tilt the page slightly to the right and keep your wrist below the line. That position keeps your writing neat.
Start with simple words: ball, bag, bat, bee, blue, brave, and bright.
You can download free printable cursive B worksheets from the top of this page. Visit our cursive alphabet section to find worksheets for all letters from A to Z.