- Cursive Alphabets
- Cursive A
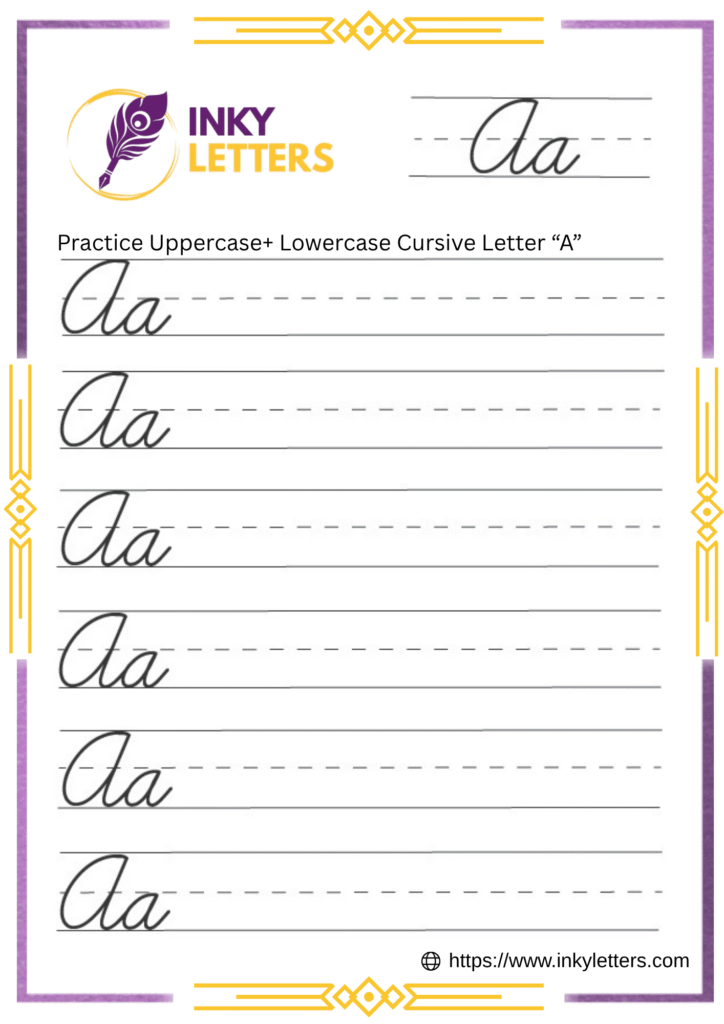
Cursive A Tutorial and Worksheet (Uppercase + Lowercase)
On this page, you will learn how to write uppercase cursive A and lowercase cursive a step by step. You’ll also get free printable and downloadable cursive A worksheets for tracing and practice.
Download Cursive A Worksheet
Ready to start writing cursive A? First, download the cursive A worksheet and then follow the steps below.
How to Write A in Cursive
The cursive A looks smooth and round. It has a graceful curve that flows easily across the page. Both uppercase and lowercase A are simple once you understand their shape. Let’s learn how to write both forms in an easy, direct way.
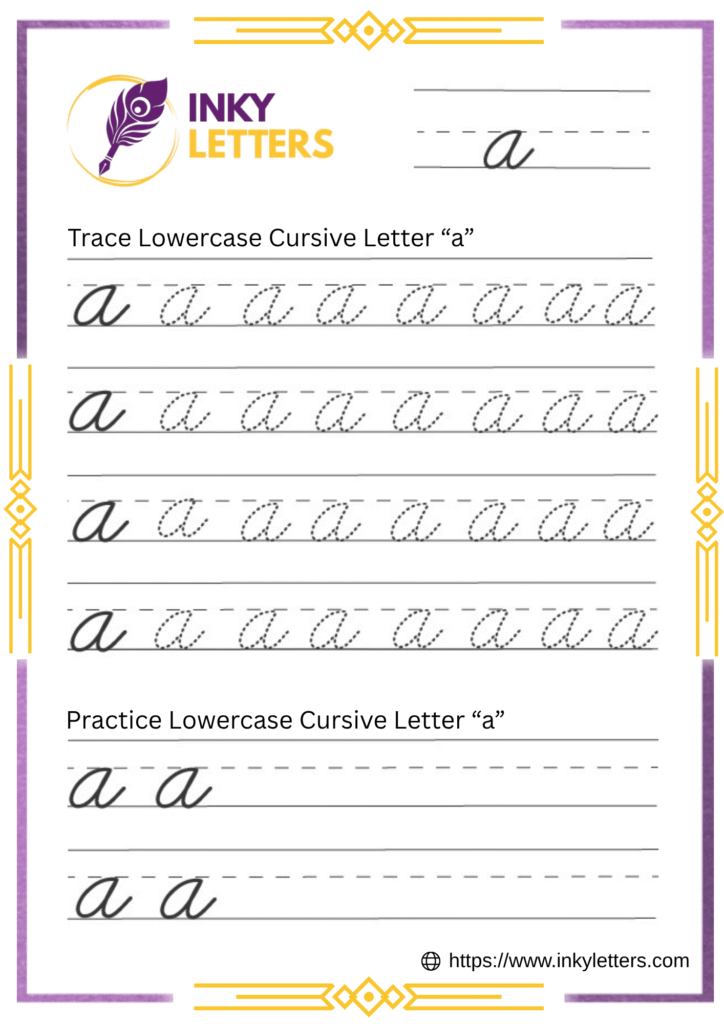
Lowercase Cursive A
Start at the bottom line and curve left to form a neat oval. Close it at the top, then pull a short tail to the right for joining. The lowercase cursive ‘a’ resembles the print a ‘ but features a soft loop. Keep strokes light and even.
Practice slowly until it feels smooth. Once clear, it helps connect letters easily and improves writing flow.
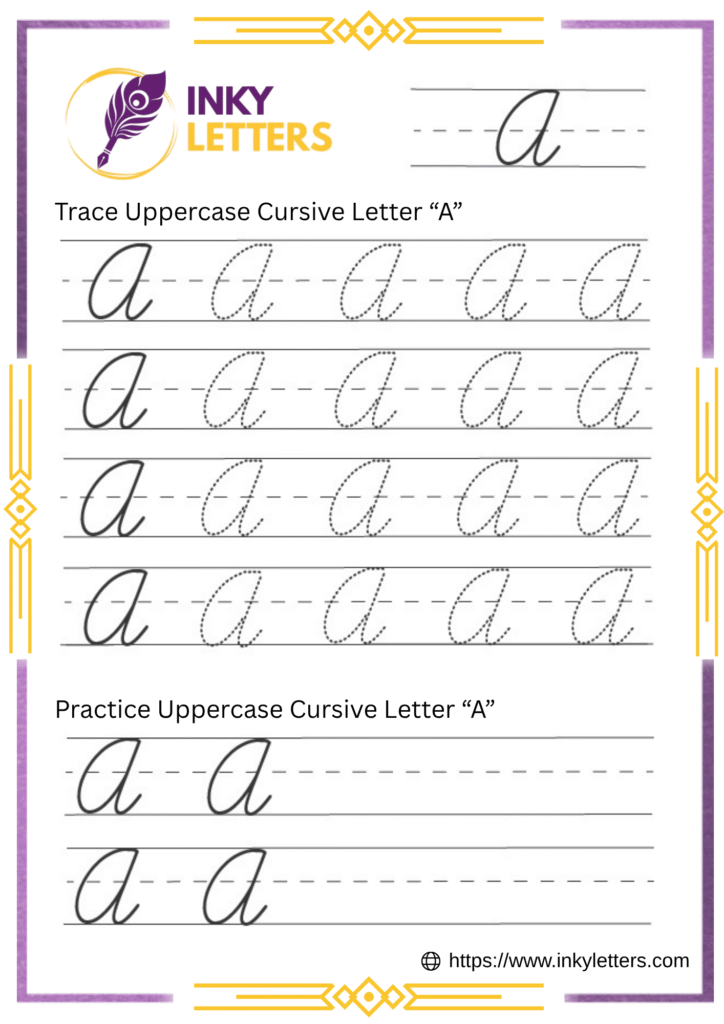
Uppercase Cursive A
Start near the top line. Curve up and left, then loop around into a large oval. Bring the line down to the baseline, then add a short line across the middle.
The uppercase A stands tall and looks strong. Its loop gives it a classic, graceful look. Keep the upper curve wide, but not too big. The cross line should sit neatly in the center.
Uppercase A often appears in names and titles, so make it clear and balanced. Write it big enough to stand out but not too wide. Practice until every stroke feels natural.
How to Connect Cursive A to Other Letters
Once you can write the lowercase cursive clearly, the next step is learning to join it with other letters. Connections make your cursive writing neat and easy to read. Let’s go through both lowercase and uppercase connections.
How to Connect Lowercase Cursive a
The lowercase a ends with a small tail that moves right. This stroke helps you move into the next letter without lifting your pencil.
How it connects:
- a + n / r / s: Let the tail curve into the next letter.
- a + t / l: Lift the curve slightly and move up into the tall line.
- a + e / i / o: Keep the stroke soft and flow straight into the next shape.
Download practice worksheets:
- Joining Letters: an, ar, as, at, al, ae.
- Cursive Words: and, art, air, apple, arm, ask.
Lowercase a connections are smooth and easy. Keep the letters close and even for neat writing.
How to Connect Uppercase Cursive A
Most of the time, uppercase A stands by itself, especially in names. But you can connect it when needed.
Ways to join uppercase cursive A:
- A + n / m: Start the next letter close to the right edge.
- A + l / t: Add a small line from the lower part to reach the tall stroke.
- A + e / r: Flow naturally from the bottom curve to the next loop.
Download practice worksheets:
- Joining Letters: An, Am, Al, At, Ae, Ar.
- Cursive Words: Anna, April, Able, Arrow, Area, Aim.
The connection from the uppercase A looks elegant. Keep it simple and clear to maintain good letter spacing.
Here’s What Most People Ask Us
Start with tracing. Let your hand learn the stroke before writing freehand. Show one step at a time for better focus.
Begin with lowercase a. It appears more often in words. Once you’re comfortable, move to uppercase A.
Write one full row of uppercase and lowercase letters daily. Most learners show improvement within a few days of consistent effort.
Yes. Cursive A is simple and rounded. Young learners can follow short strokes without confusion.
Use the tail of lowercase a as your bridge. Keep it short and curved. Practice words like and, arm, and art to improve flow.
Free printable cursive worksheets are available on this page. Use them to trace, connect, and write words daily. Regular practice through these worksheets helps improve letter shape, flow, and writing speed.